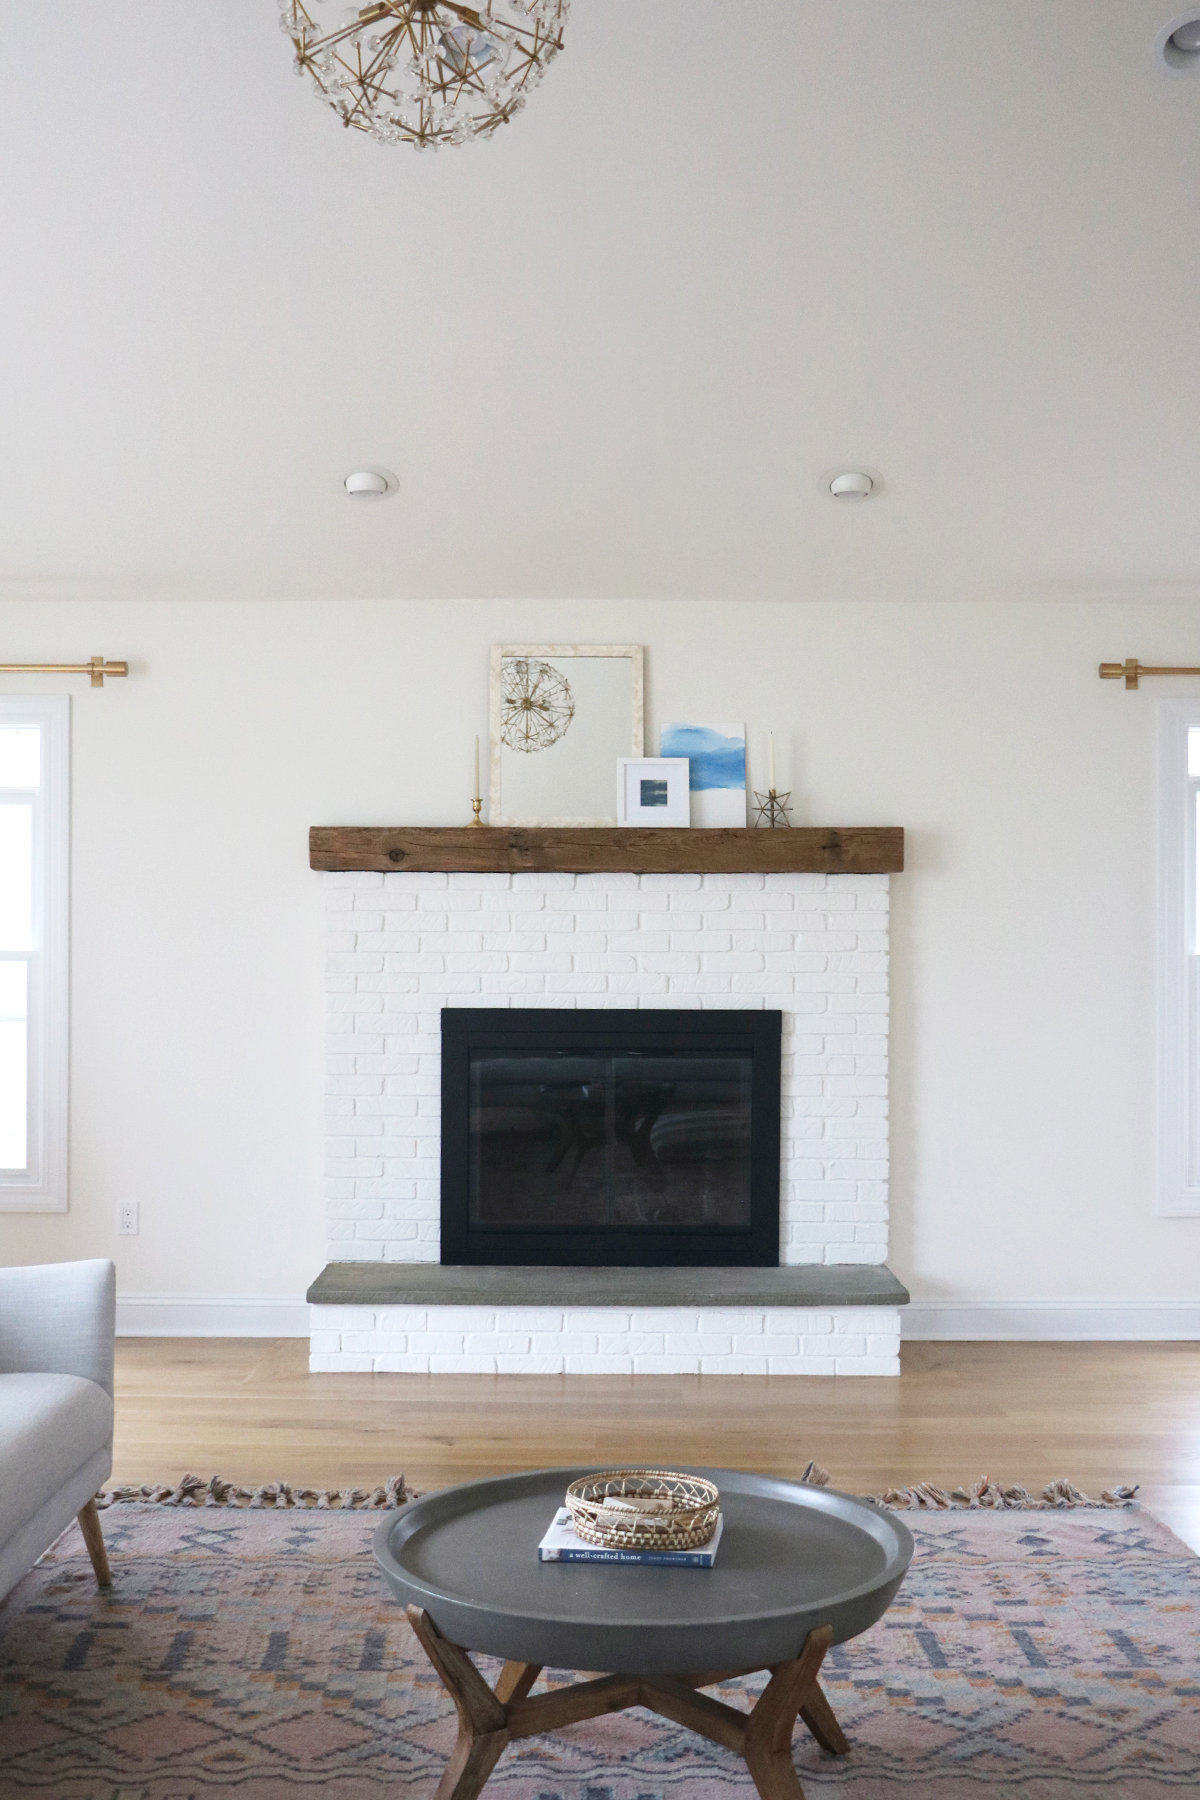
Our Fireplace Makeover
This is one of those projects we weren’t sure we wanted to do, so we sat on it for 10 months. When we did the family room renovation we talked about painting the fireplace brick, but weren’t 100% on board and didn’t want to regret it! So, we replaced the mantle with the reclaimed wood beam and lived in our renovated family room for 10 months. Last week we decided, “let’s paint it!”. I’m SO glad we did and I’m also glad we felt super confident that it was the right decision.
I think when you’re really on the fence about doing a project in your home (especially one that will cost you time and money), it’s a good idea to live with it for a while until you’re more confident that you want the change. This isn’t to say go crazy overthinking things, though! This is just what works for us.
Okay, here’s the before!
Okay, here’s what I used and how I did it!
Materials:
bucket of soap and water
nylon scrub brush
dropcloth
painter’s tape
paint brushes in assorted sizes
paint (good quality, self priming) we used BM Aura in White Dove, the same paint as the walls
1. First I scrubbed the brick really well with soapy water and a nylon brush. Then I went over it again with plain, clean water to get all the soapy residue off and any lingering dirt.
2. I waited 24 hours to let the brick fully dry before beginning painting
3. I then taped everything off with painters tape. Since we used the same paint as we did on the walls, I didn’t have to tape that part off, which was great!
4. I put on the first coat of paint. I used a smaller brush to get into the grout.
I had a really cute helper :)
5. We waited about 24 hours and did the second coat. We probably didn’t have to wait that long, but it just worked out that way.
6. We let it dry for a day then cleaned up any paint drips and put the fireplace cover back on.


