DIY Winter Scene Globe
As you guys can probably tell by now, I'm a little bit obsessed with crafting and decorating for winter and the holidays! Making your own winter scene globe is SO fun. The possibilities are (somewhat) endless and it reminds me of creating dioramas in elementary school—remember those?!
If you'd like to create your own little winter wonderland in a "globe", I'm showing you how below!
1. Collect your winter scene items.
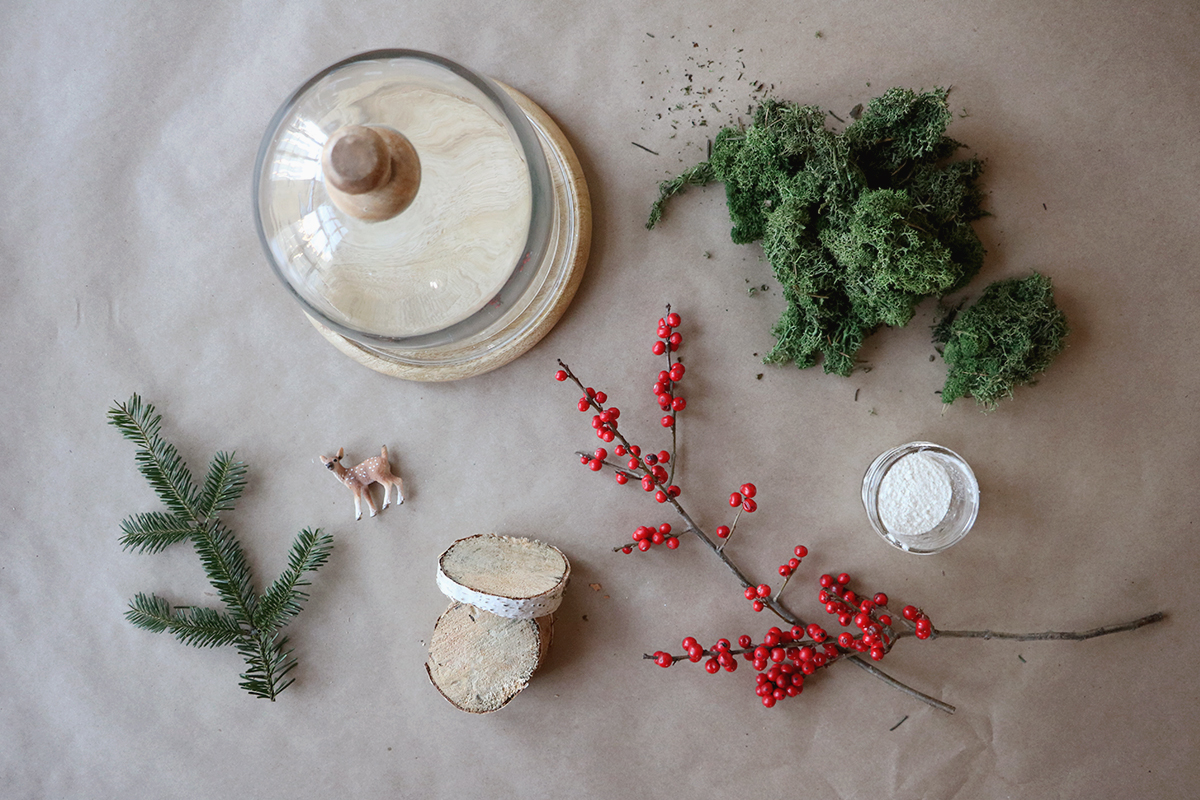
You may be able to find cloche sets at your local home and garden store, Home Goods or try your local thrift/antique stores. You can also just purchase (or if you already have) a large glass and wood round and put them together. I happened to find mine at Home Goods.
Gather whatever inspires you! Moss, birch wood rounds, sticks, pine branches, winterberries flour for "snow" and little woodland creatures. Most of these things you should be able to find at your local garden or craft stores.
2. Place wood rounds for height.
This is optional, but I wanted to give my moss a little lift, so I put two small, wood rounds down.
3. Add your moss.
Pile on your moss on top of your wood rounds and try to make sure it's not flowing over the sides too much.
4. Add "snow".
Sprinkle flour all over your moss. You can do a "flurry" or a "blizzard" depending on the look you're going for!
5. Start adding your props.
Stick in your woodland creatures and pine branches. I tried to stick mine through the moss as much as possible so they would stay upright. This will take a bit of trial and error and some finagaling.
6. Place your larger branches in last.
This way, you can place the globe right on and they can lean against it. I ended up putting a little baby bottle top filling with water hidden in the moss to put the winterberry branch in so it doesn't dry out. You can also add some more flour to everything before closing it up so the "snow" looks like it's fresh fallen!
Have you ever created your own winter globe? Let me know your favorite winter craft below in the comments! xx


